Connector Quick Start
Start Connector
Unpack the distribution and run the start script located in the installation bin directory.
LINUX
./connector
WINDOWS
./connector.bat
Login to Connector
Once the Connector has started, navigate to the Admin UI and login with the default username and password, admin/admin:
Configure Connector
Follow the description and instruction in the Basic Configuration Menu to configure the mandatory settings.
Drupal Connector Configuration
To connect and traverse a Drupal instance, the following properties must be configured via the connector UI:
Instance Settings
-
Base URL The URL of your Drupal instance. Example:
https://example.com/. -
JSON:API Path Prefix The path prefix for JSON:API endpoints in your Drupal instance. Default:
jsonapi. -
Authentication Credentials
-
Username: The username for the Drupal Technical Account.
-
Password: The password for the Drupal Technical Account.
-
-
Proxy Configuration (if applicable):
-
Proxy URL: The URL of the proxy server (e.g.,
http://proxy.example.com:8080). -
Proxy Username: The username for proxy authentication (if required).
-
Proxy Password: The password for proxy authentication (if required).
-
Content Settings
-
Content Types to Traverse Explicitly specify the content types (node types) to be traversed. Example:
page,article. -
Comments
-
Enable or disable the traversal of comments.
-
Configure included or excluded comment types if applicable.
-
Advanced Settings
-
Only Published Content Whether to traverse only published content. Set
trueto exclude unpublished content. -
Language Configuration
-
Default language: Specify the primary language of your content.
-
Additional languages: Include additional languages if the site is multilingual.
-
Enable language detection for other languages if necessary.
-
-
Pagination Settings Define the number of nodes, comments, or other entities to be fetched per page. Example:
50. -
Connection Settings Configure timeouts and connection limits for the HTTP client:
-
Max Connections: Maximum number of simultaneous HTTP connections.
-
Max Requests per Second: Rate-limiting for requests.
-
Request Timeout: Time to wait for a request to complete.
-
Socket Timeout: Inactivity timeout for open sockets.
-


Upload License
-
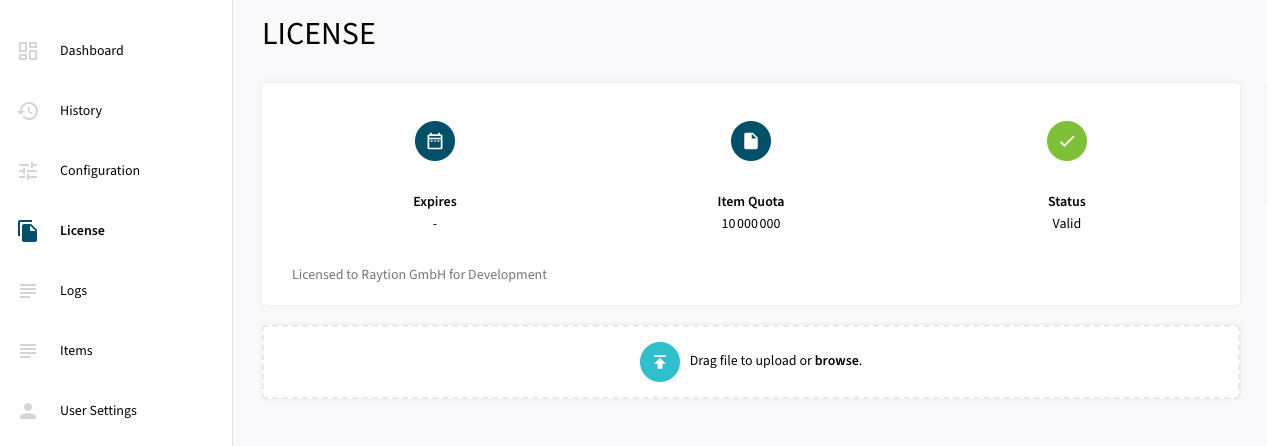
Contact Raytion and obtain a license for your connector
-
Login to the Admin UI
-
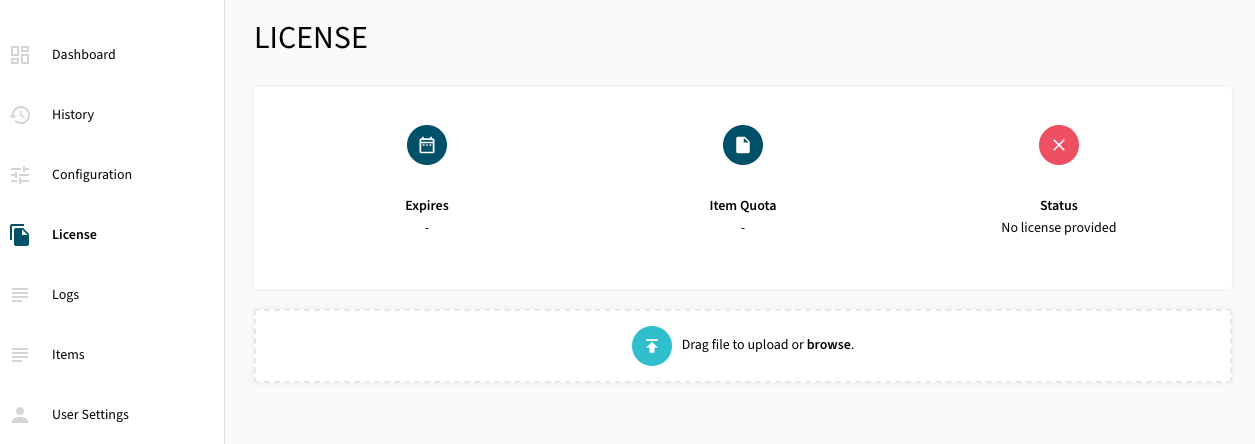
Select License in the menu:
-
Upload the license file by browsing for the file or simply dragging a dropping the license onto the license page
-
The Status of the license will be displayed as valid, and the expiration and item quota will also be displayed:
Synchronizing Data
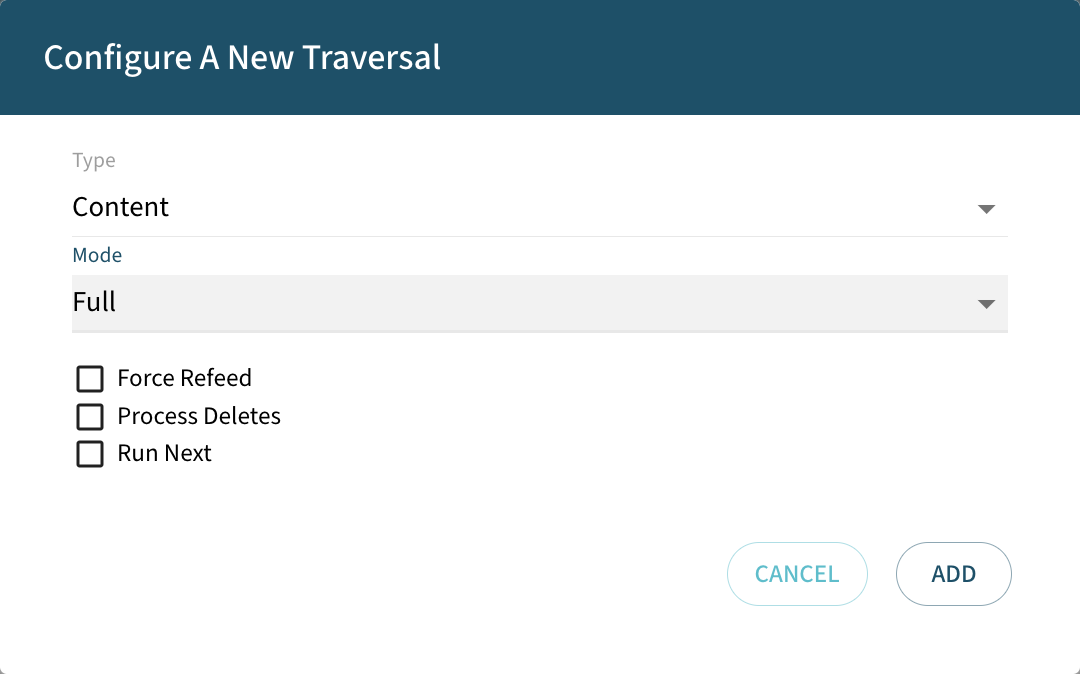
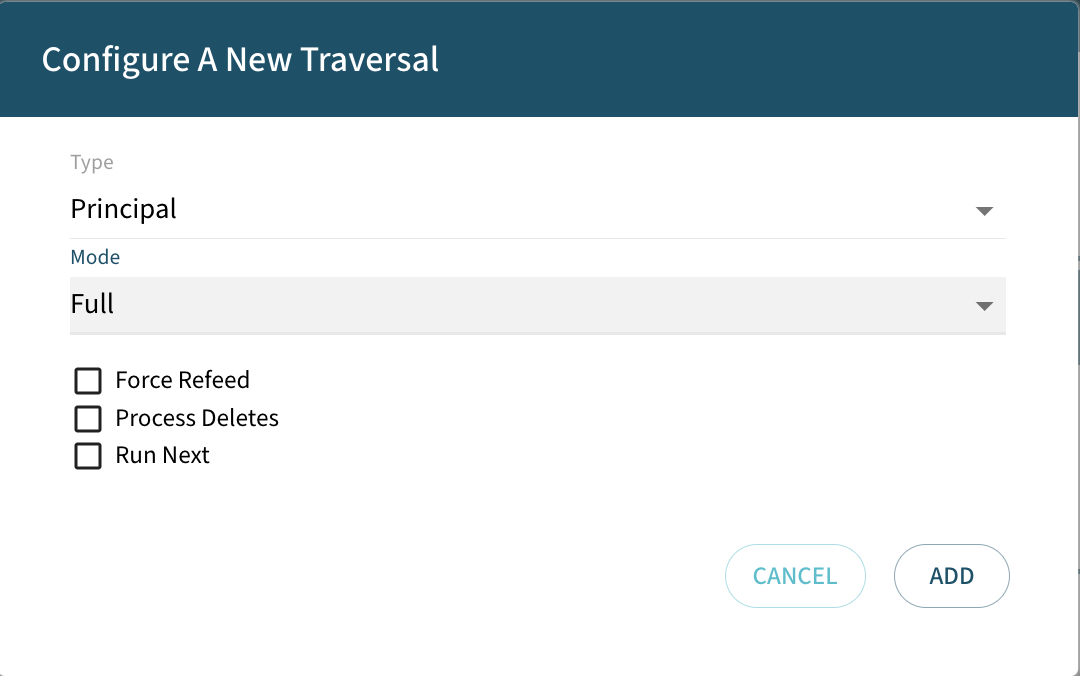
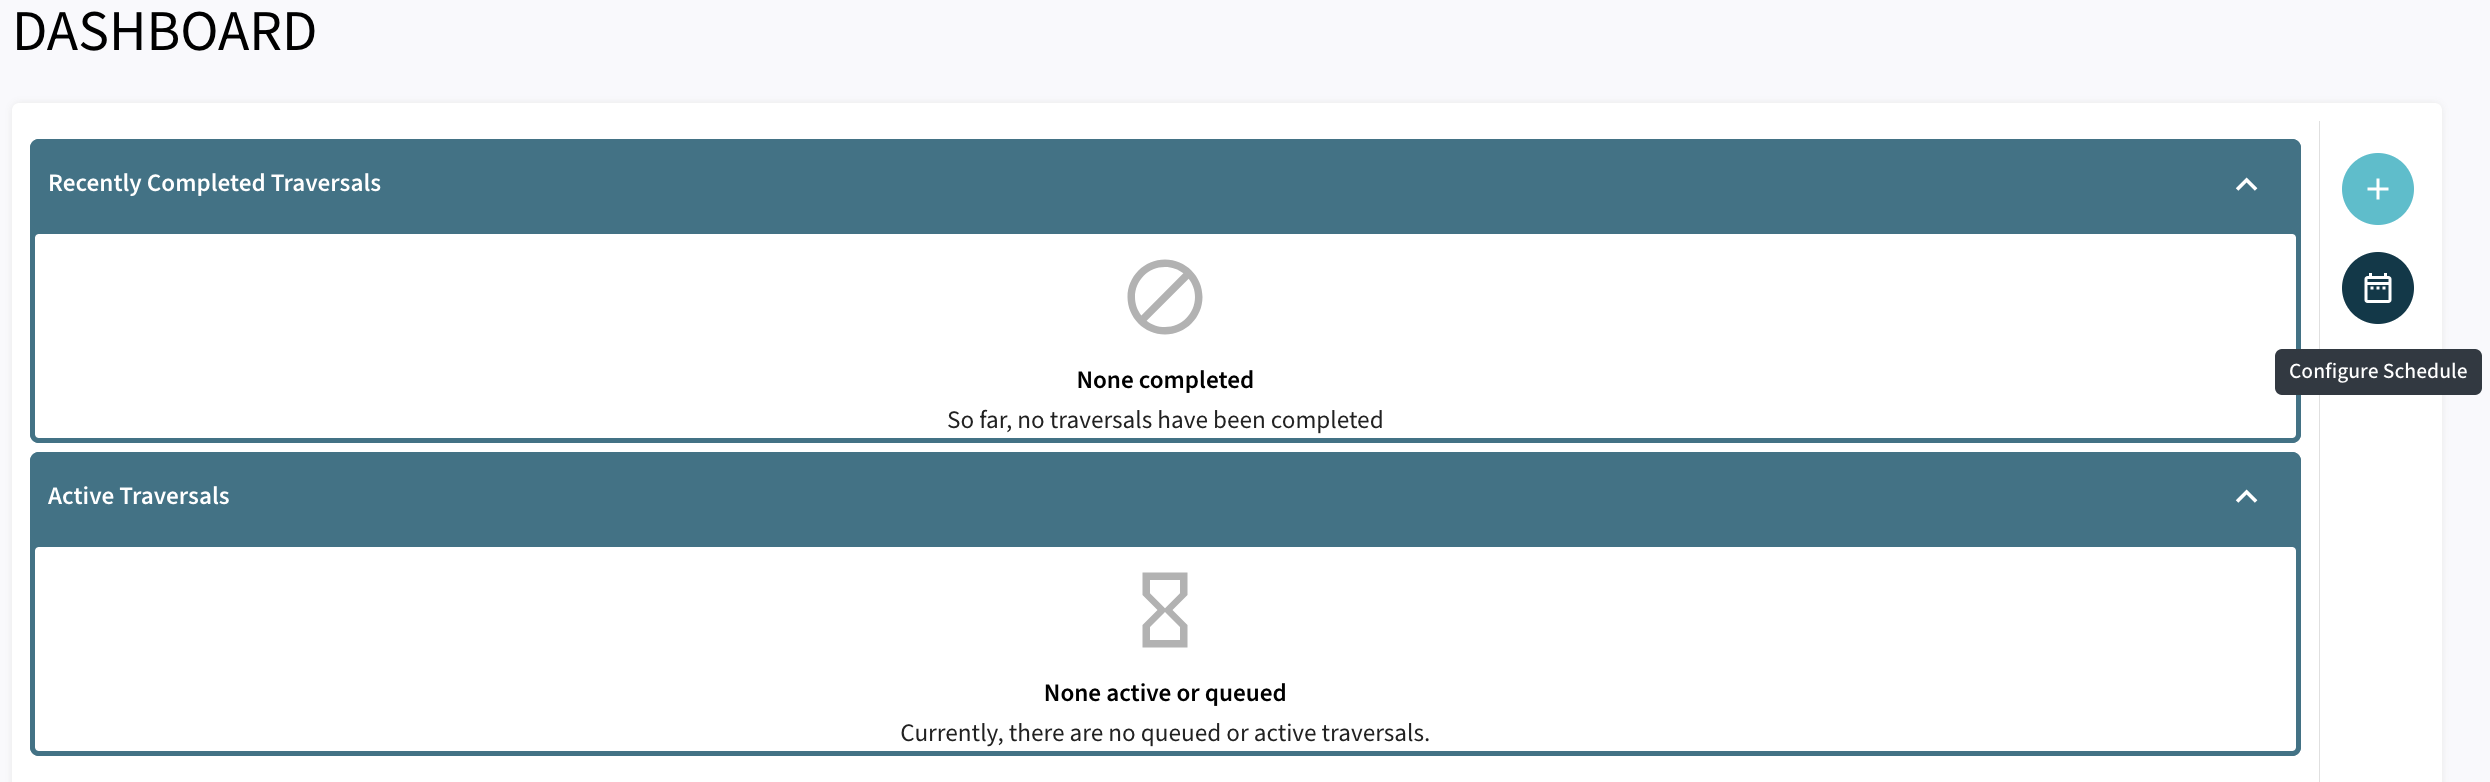
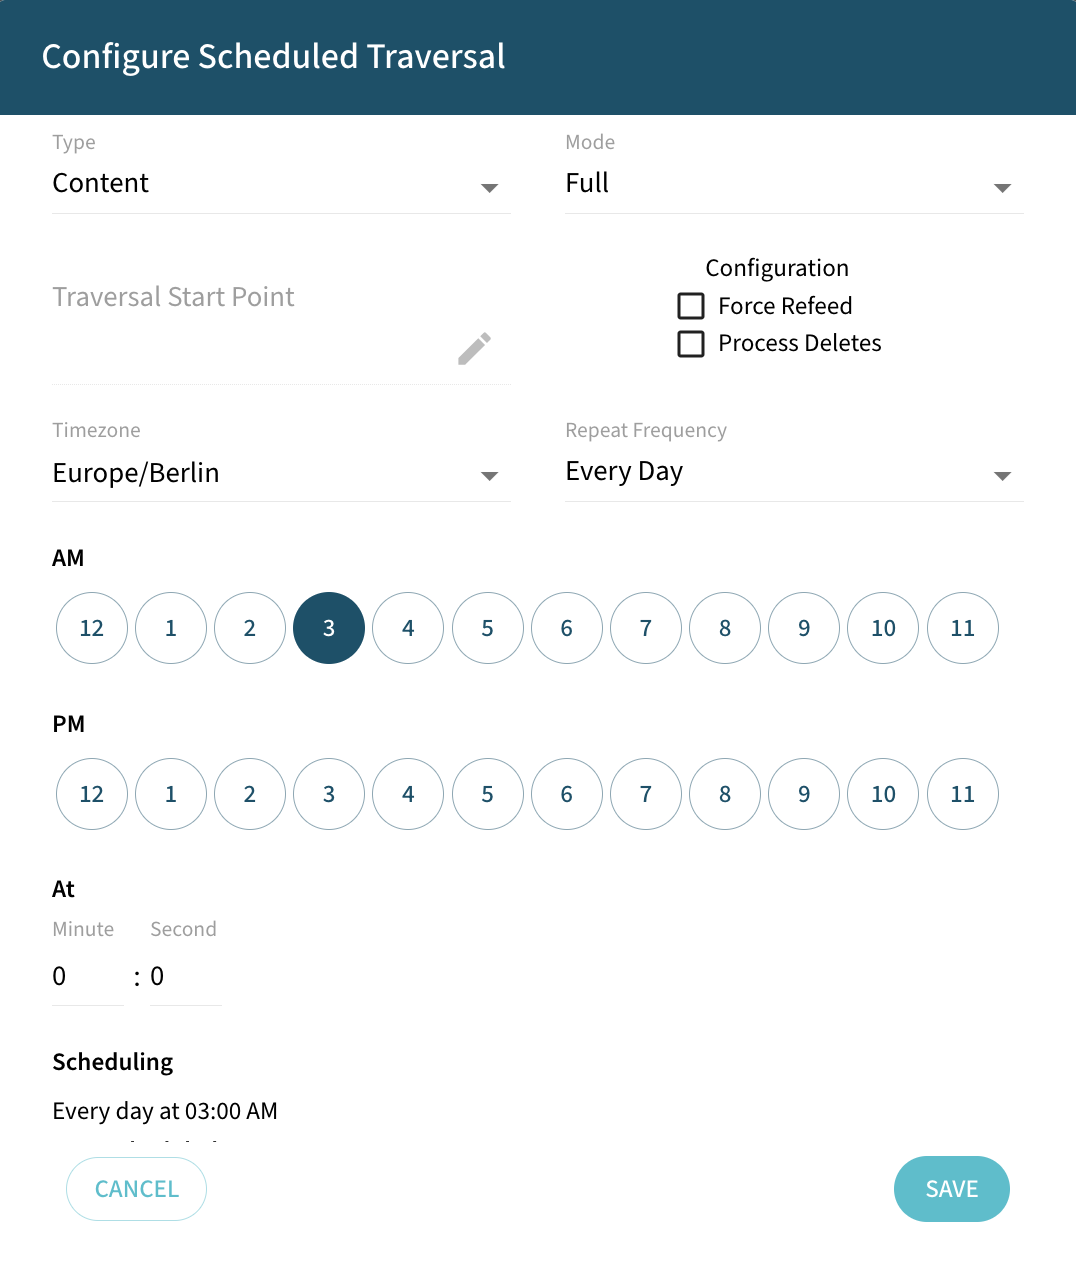
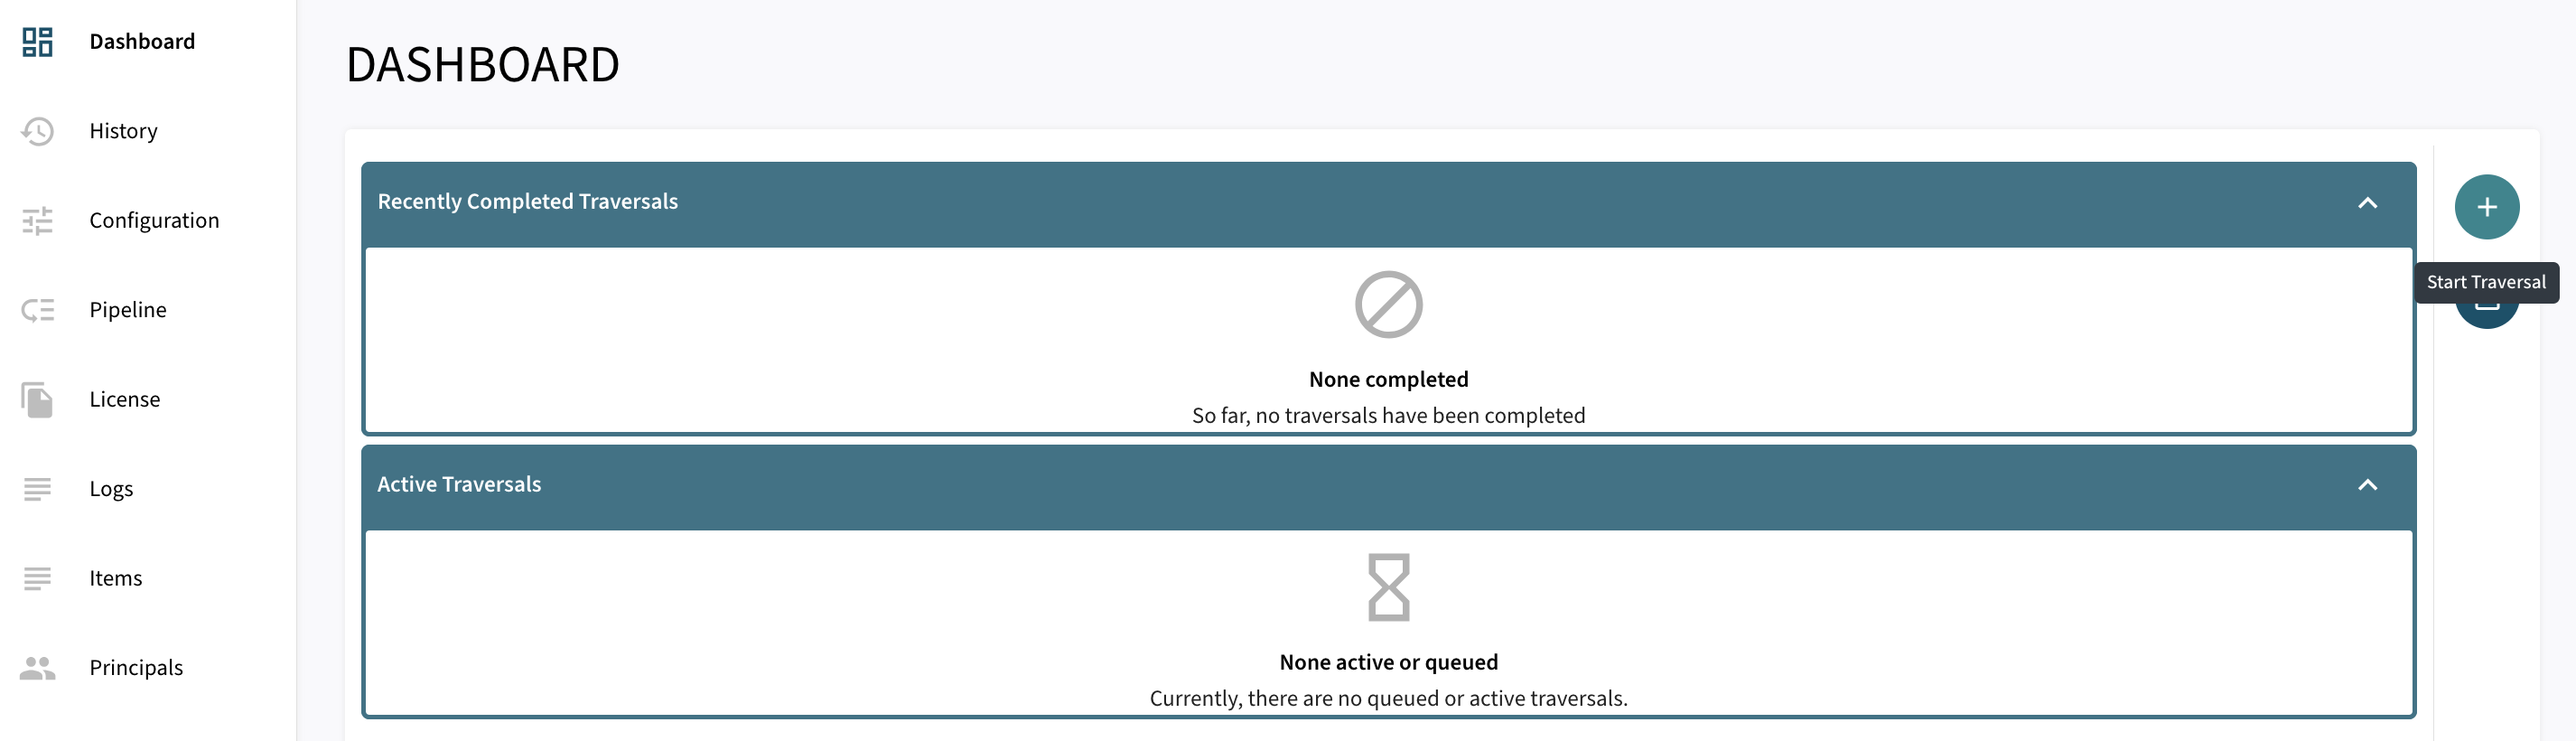
Once the connector is configured and the license uploaded, you can start synchronizing data using the traversal feature in the dashboard.
There are 3 options for Synchronizing:
-
Force Refeed Toggles if previously discovered traversal items that haven’t changed should be fed to the search engine.
-
Process Deletes Toggles if deletions should be fed to the search engine.
-
Run Next The traversal will be prioritized over other traversals without this flag in the queue.